
Starting loadout
- Check what you can summon now. Equip an available summon spell; this guide assumes you already have access to it.
- Add a reliable personal attack. Keep a wand or affordable staff spell ready while your summons contribute.
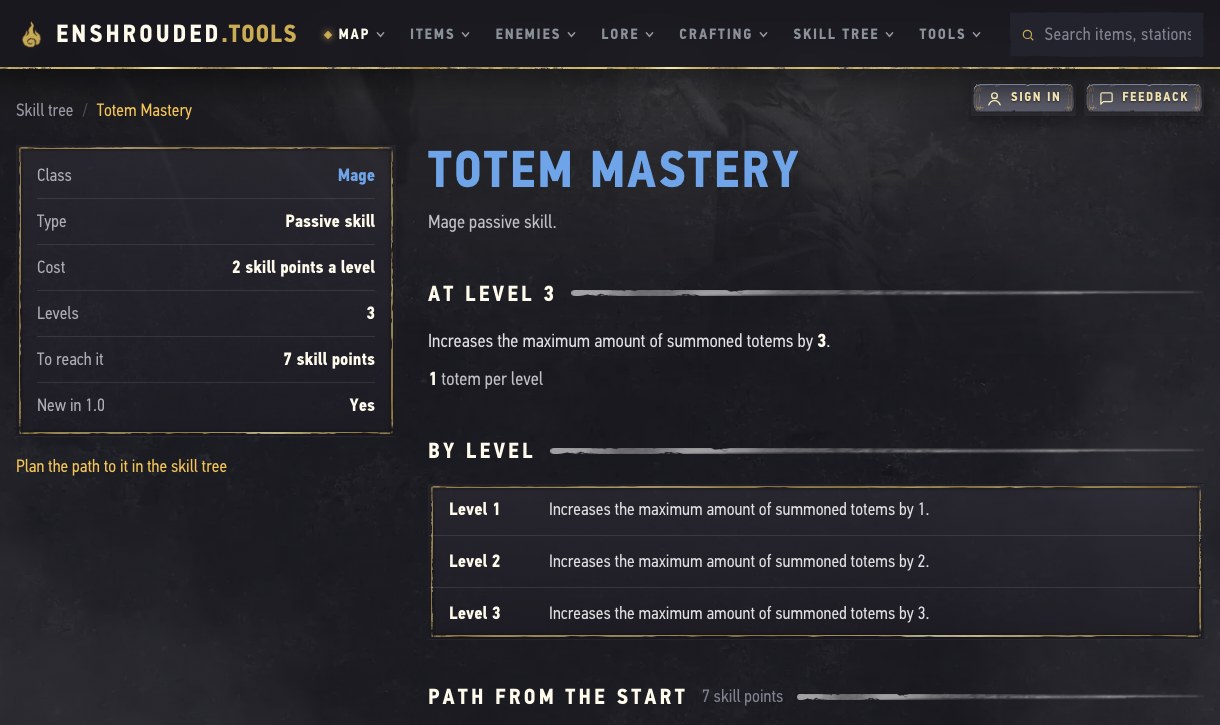
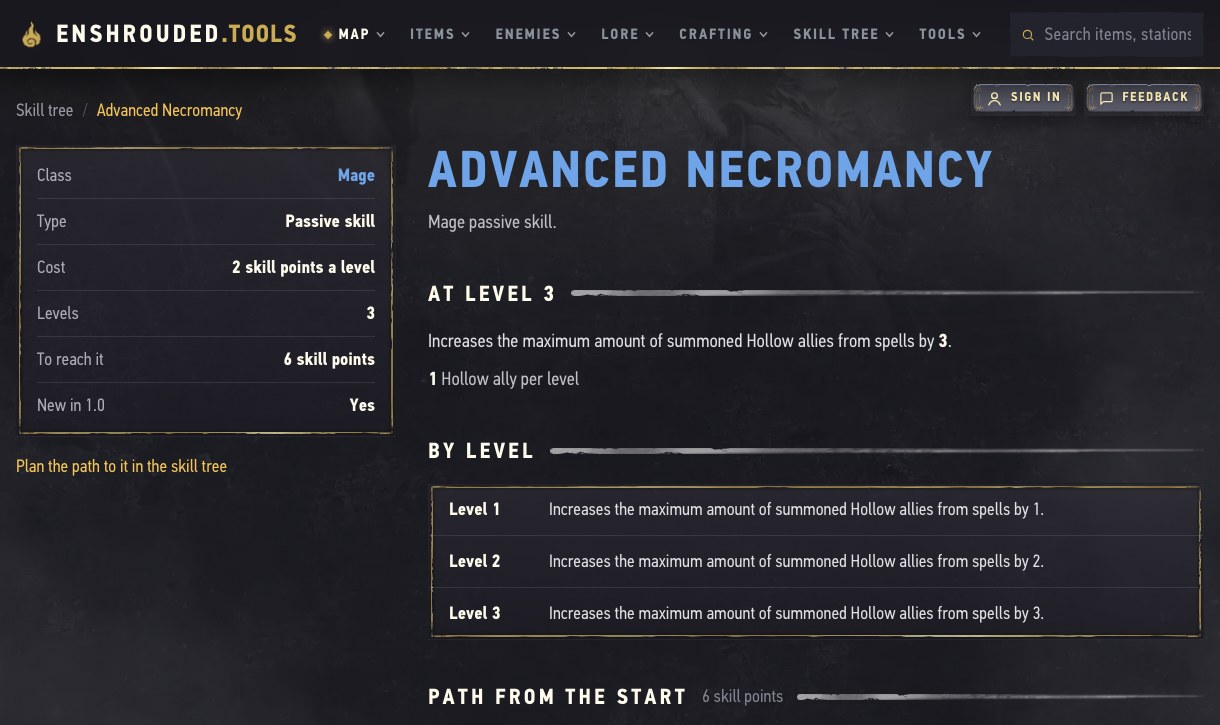
- Match the skill to the limit. Advanced Necromancy supports Hollow allies from spells; Totem Mastery supports totems. Buy only what your current loadout needs.
Summoning skills do not themselves grant every summon spell. If the spell is not available in your crafting or spell inventory, continue its unlock progression first; the loadout below is not a spell-acquisition walkthrough.
Choose the active-summoning approach
Use summon spells and elemental totems, then manage positioning and mana while they fight. This page focuses on castable allies and placed totems. The necromancer guide instead emphasizes an ice caster supported by direct summons and kill-triggered companions.
These approaches overlap. You do not need to choose a permanent character class to test either one. Begin with one summon you can actually cast and one reliable personal attack, then add complexity.
Build a small working loadout
The published summoner setup uses Summon Hollow Skeleton alongside Fire, Ice and Shock Totem spells. It pairs Advanced Necromancy with Totem Mastery to support the two kinds of summon capacity.
| First problem | Priority | How to check |
|---|---|---|
| Too few spell-summoned allies | Inspect Advanced Necromancy | Compare the tooltip with the active summon count |
| Totem placement limit | Inspect Totem Mastery | Check the limit for totems separately |
| Mana runs out immediately | Resource recovery and a sustainable attack | Test a short fight without repeatedly exhausting the bar |
| Enemies reach you | Movement and survival | Keep an escape route while recasting |
Do not add every elemental spell at once if you cannot afford the casts. A smaller loadout makes it easier to learn which action solves which problem.
Attributes and equipment
The source prioritizes Intelligence, then Spirit, with Constitution for survival. Use this as a direction rather than a fixed numerical allocation for every level. Follow the actual connecting path in the skill-tree guide.
Staff of Reeds is the source's staff example; Candlelight Wand and Androme's Wand are wand examples. For armour, the source mixes Flame Arcanist pieces with Vorgoth's Soulbound pieces. These are comparison targets, not a requirement to delay playing until an entire endgame set drops.
Check the upgrades you have unlocked, useful mana recovery, health and the damage type you are supporting. A replacement that empties your mana faster may feel worse even when its headline damage is higher.
Place, attack and reposition
- Prepare an ally before drawing a group when the spell allows it.
- Place a totem where it can contribute, rather than behind terrain that blocks the encounter.
- Stay active with your wand or a suitable staff spell while watching mana.
- Move when enemies close in; replace lost support when you have a safe opening.
- Change one part of the loadout after a test fight, then compare the result.
Success check: summons and your own attacks contribute without leaving you unable to react. If the loadout works only against groups, test it against a single durable target before committing all remaining points.
Common questions
Do Necromancer and summon spells do the same thing?
No. A kill-triggered companion and an ally you cast directly have different starting conditions. Read each tooltip and test them separately. Do not combine displayed percentages or ranks from different builds into a guaranteed summon rate.
Can I use the build before endgame?
Use the smaller version first: a dependable attack, an available summon and enough movement to survive. Progress your survivor quests and equipment alongside the build. See the beginner route if crafting access is the immediate blocker.
Sources and version
Reviewed November 1, 2026. The guide is based on the source's 1.0 summoner approach and practical editorial priorities. It does not claim a tested full-level skill budget, guaranteed summon damage or an exact current item roll.